I enjoy writing in a variety of low level and compiled languages. One of the tools I use almost every time regardless of the language, or sometimes mix of languages, is make. In this article, I want to share some of the ways that make can be used and some of the tips and tricks I employ the most when using make.
I’ll be writing and running these examples on my Ubuntu 16.04.3 laptop with GNU Make 4.1.
Make Without Makefiles
I almost always use make with a Makefile, as it’s significantly more customizable that way, but I think it’s important to know that make does have some usage you can employ even without a Makefile.
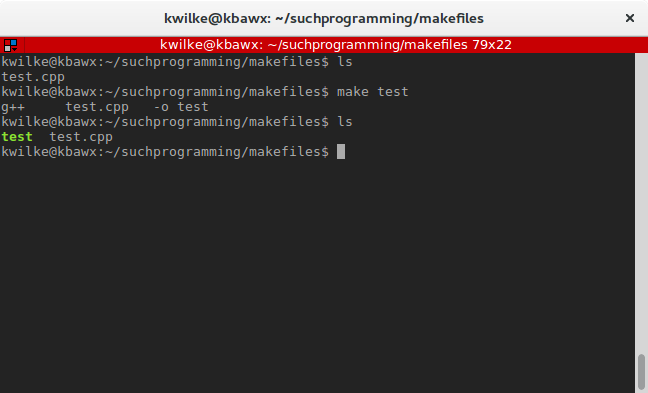
Without a Makefile, make can still follow some of it’s implicit rules for building some files. Let’s say we have the following test.cpp file ready to build:
#include <stdio.h>

int main() {
  printf("Hello from test.cpp!\n");
  return 0;
}
You could build the test program with a simple call to make test.
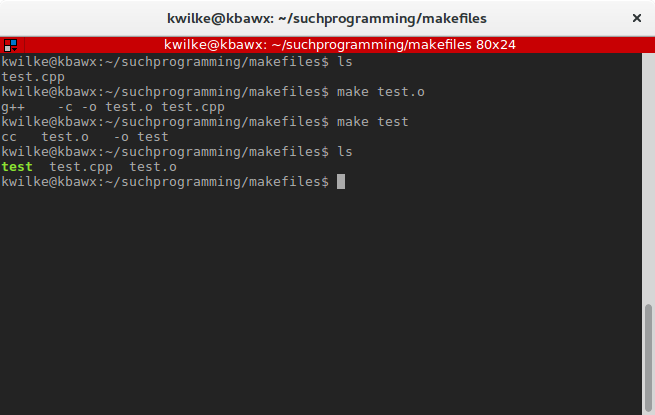
Or if you’d like to build a test.o object file, you can do make test.o and if that’s present when you do make test it’ll build the binary using the already built object file.
There is a pretty good smattering of things you can build this way, check the documentation if you’re interested in more detail on the rules and supported targets.
Looking at Makefiles
Most projects will have a depth beyond what make is able to determine with all it’s smarty-pantsness, and in those cases the beloved Makefile is there to make life easy.
If you’ve pulled down and built a common open source project and looked at the Makefile, or generated one with a tool like autotools or cmake, you may have looked at it with much confusion.
As an example I’ll look at libuv, my favorite cross platform asynchronous I/O library. After cloning the repo down, running ./autogen.sh to generate the build configuration script, then running the ./configure script I get a nearly 5000 line Makefile. To me it looks like mostly gibberish and some tests. In all fairness there is a lot of good things happening in there but it’s not good for learning how to write a Makefile.
A Makefile doesn’t always need to be that cray-cray. For my own projects I try to keep it pretty simple, though over time it generally becomes more complex. An example of mine, from my post on building a barebones Linux system, is on my github here. I’m not the only person crazy enough to stick with a handwritten Makefile; the Redis database also uses a handwritten Makefile, and Redis is production quality and awesome AF.
Let’s start looking at the basics of making your own Makefile!
Makefile Basics
Most of the time when you use make, it will be looking for a file named Makefile to find your targets. If you run make without a Makefile, you’ll be greeted with this lovely message:
make: *** No targets specified and no makefile found. Stop.
If you had say, an empty Makefile, you’ll see something along the lines of:
make: *** No targets. Stop.
The first thing you should be aware of regarding Makefile syntax is that tabs are part of the syntax! I’ve seen a few developers start building a Makefile and be like “WTF!” when nothing works because their text editor is configured to insert spaces when they hit tab.

The general format of a Makefile is a a list of targets with optional dependencies and commands
<target>: [dependency] [dependency]
<tab>[command]
<tab>[command]
As an example, I’ll define a target test that will not have dependencies and that target will run some echo commands.
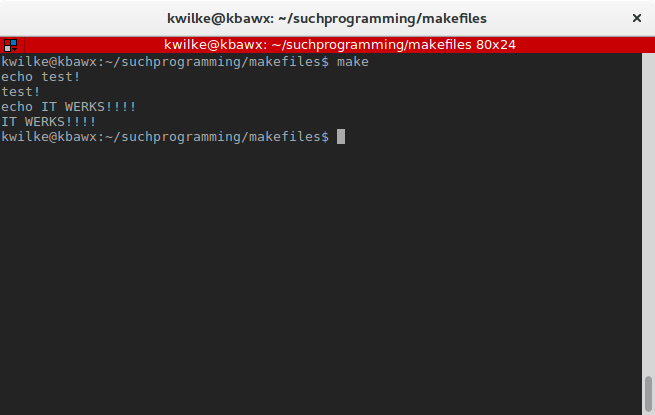
test:
	echo test!
	echo IT WERKS!!!!
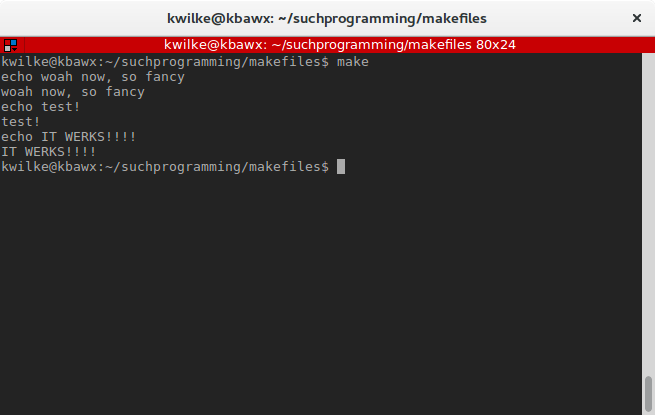
With this in my Makefile, if I run make with no arguments it’ll run my first target test. The common convention is for a Makefiles to start with the target all.
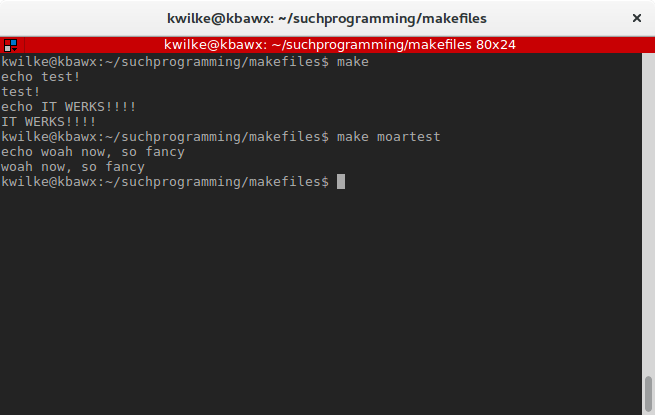
If I add a second target moartest and I want to run that one, I’ll need to specify it during my command as make moartest.
test:
	echo test!
	echo IT WERKS!!!!

moartest:
	echo woah now, so fancy
Makefile Dependencies
One of my favorite things about make is the way it handles dependencies. If you’re using it for building a project you can organize the steps however you’d like and structure a hierarchy where one step runs before another.
I’ll extend my previous example to add my moartest target as a dependency of the test target.
test: moartest
	echo test!
	echo IT WERKS!!!!

moartest:
	echo woah now, so fancy
Now when I run make, test will be inspected since it is the first target and since test has moartest in its list of dependencies that make will first look for that target and if it’s commands execute successfully the commands for test will also be ran.
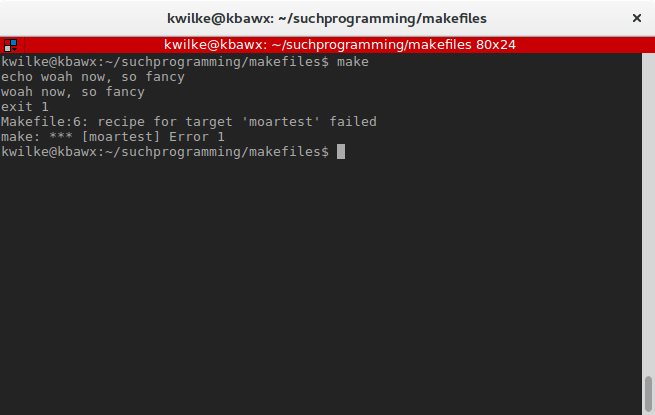
If for some reason the dependency commands should fail, make will error out at that point. To simulate this I will add an exit 1 command to my moartest target.
test: moartest
	echo test!
	echo IT WERKS!!!!

moartest:
	echo woah now, so fancy
	exit 1
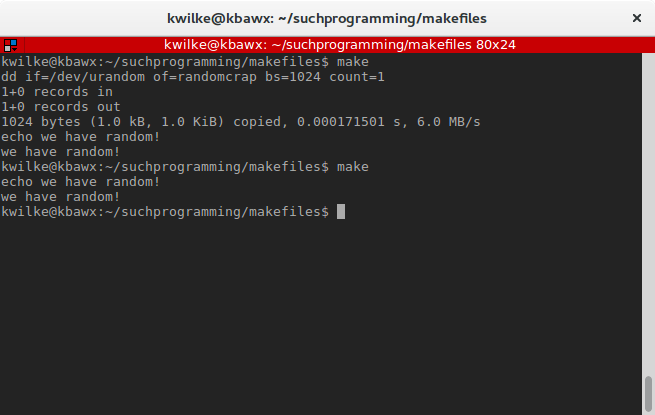
If the target name is a file, and that file already exists, the target will be skipped. Here’s an example where my randomcrap target generates a file that’s a dependency of my test target.
test: randomcrap
	echo we have random!

randomcrap:
	dd if=/dev/urandom of=randomcrap bs=1024 count=1
A dependency doesn’t need to be a another target, in many cases it’s useful if a dependency is some source file. make will look to see if that source file has been updated and will re-run the target only when it seems necessary.
Consider this example:
test: copiedfile
	echo we have the latest copy!

copiedfile: originalfile
	cp originalfile copiedfile
And observe how make responds to the absence of the source file, how it skips the file when it’s already the same as the original, and how updates to the original will be noticed during the subsequent run.
Variables in Makefiles
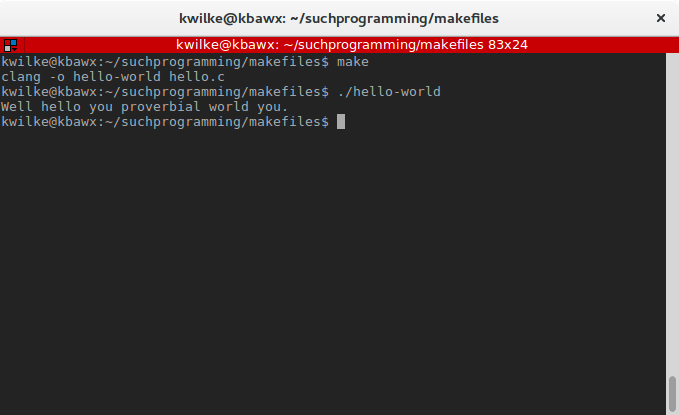
It is often useful to have some variables in your Makefile. Variables can be set with the NAME=VALUE syntax. In my first example here I’ll compile the following hello.c program:
#include <stdio.h>

int main(int argc, char *argv[]) {
  printf("Well hello you proverbial world you.\n");
  return 0;
}
To make my compilation of the program a bit more flexible I’ll make a COMPILER variable to setup what compiler I’d like it to use.
COMPILER = gcc

all: hello-world

hello-world: hello.c
	$(COMPILER) -o hello-world hello.c

Now if I wanted to switch my various build targets to use clang instead, I can just modify my COMPILER variable.
I could even move my program name and source file to their own variables, and reference that variable as my target and its dependencies.
COMPILER = clang
PROGRAM = hello-world
SOURCE = hello.c

all: $(PROGRAM)

$(PROGRAM): $(SOURCE)
	$(COMPILER) -o $(PROGRAM) $(SOURCE)
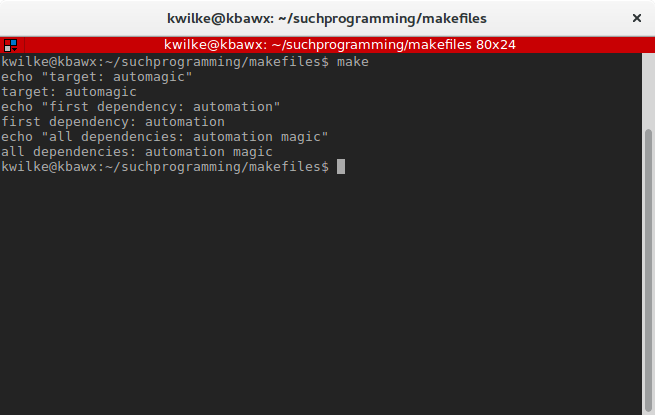
Outside of the variables you define yourself, there are also some automatic variables that can be pretty handy.
The three I use the most are $@ which if used in a command will be the name of the target, $< which will be the first dependency for that target and $^ which will be all of the dependencies for the target.
all: automagic

automagic: automation magic
	echo "target: $@"
	echo "first dependency: $<"
	echo "all dependencies: $^"
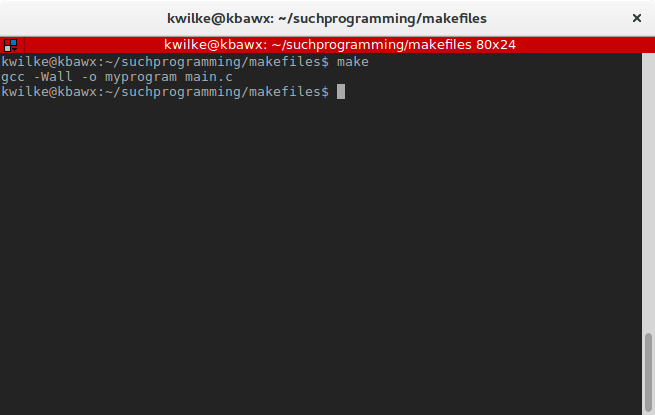
These variables can be combined in interesting and useful ways. The automatic variables can even be embedded in your normal variables. Let’s say we have some C program that has a header and a code file, you’d want to rebuild the program if the header was changed but not include the header as an argument to the compiler. You could make your own compiler rule that includes most of the settings you want and define a pattern where the first dependency is included in the commands for the target.
PROGRAM = myprogram
COMPILE_PROGRAM = gcc -Wall -o $@ $<

all: $(PROGRAM)

$(PROGRAM): main.c main.h
	$(COMPILE_PROGRAM)
Additional Command-fu
There are two other things I think that are useful to know when writing the commands for the targets.
So far we’ve seen all our output repeated, which is normally quite handy for debugging. If you feel like making your output a little prettier you can start your command with @ to squelch the output.
all:
	@echo "one moment"
	@sleep 5
	@echo "okay i'm back"
	@sleep 2
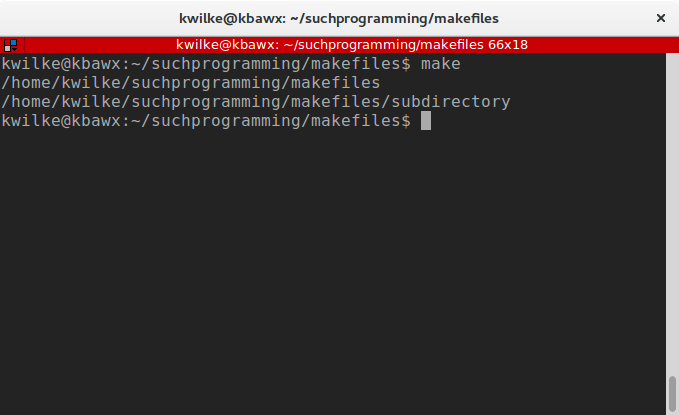
Another good thing to be aware of is that each command is ran from your current working directory. If you want to do something like make a directory, jump into it and do more work inside of it, you’ll have to run multiple commands in a single go.
all:
	@mkdir subdirectory
	@cd subdirectory
	@pwd
	@cd subdirectory; pwd
If you find yourself with really long lines in your Makefile you can always add a backslash (\) before your new line to ask the make parser to ignore that as you’re just trying to make things pretty.
And that will wrap up my post on Makefiles! I hope you find this useful!
